Managing IT projects effectively requires a system that provides clarity, fosters collaboration, and ensures timely delivery. ClickUp, a versatile project management tool, has become a go-to platform for IT professionals looking to streamline their workflows. This article provides a detailed, step-by-step guide to setting up ClickUp for IT projects, ensuring your team maximizes productivity and achieves project success.
Why ClickUp for IT Projects?
ClickUp offers a range of features that make it uniquely suited for IT project management. From its customizable workflows to robust reporting tools, ClickUp simplifies complex processes such as IT service management, software development, and IT infrastructure upgrades. With options to tailor task statuses, enable automations, and create team-specific dashboards, ClickUp ensures your IT team stays aligned and productive.
Key benefits of ClickUp for IT professionals include:
- Task Management Software: Streamlines workflows, organizes tasks, and increases team productivity.
- Multiple Lists: Provides greater visibility across projects by allowing tasks to span multiple lists.
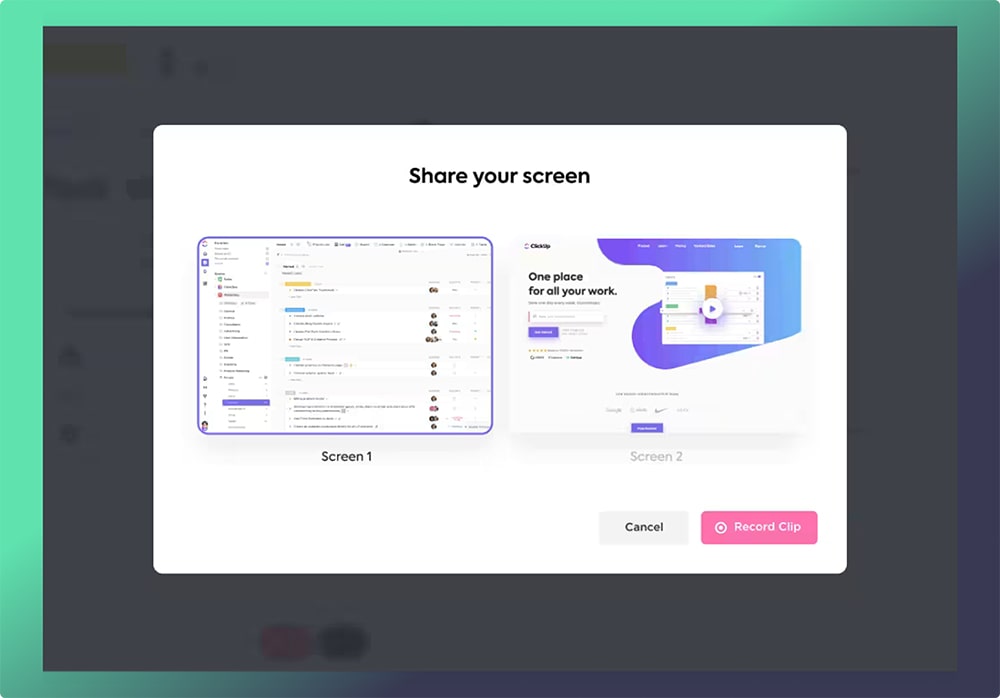
- Clips: Enhances communication by enabling screen recordings directly within tasks.
Step-by-Step Guide to Setting Up ClickUp for IT Projects
Step 1: Understand ClickUp’s Hierarchy
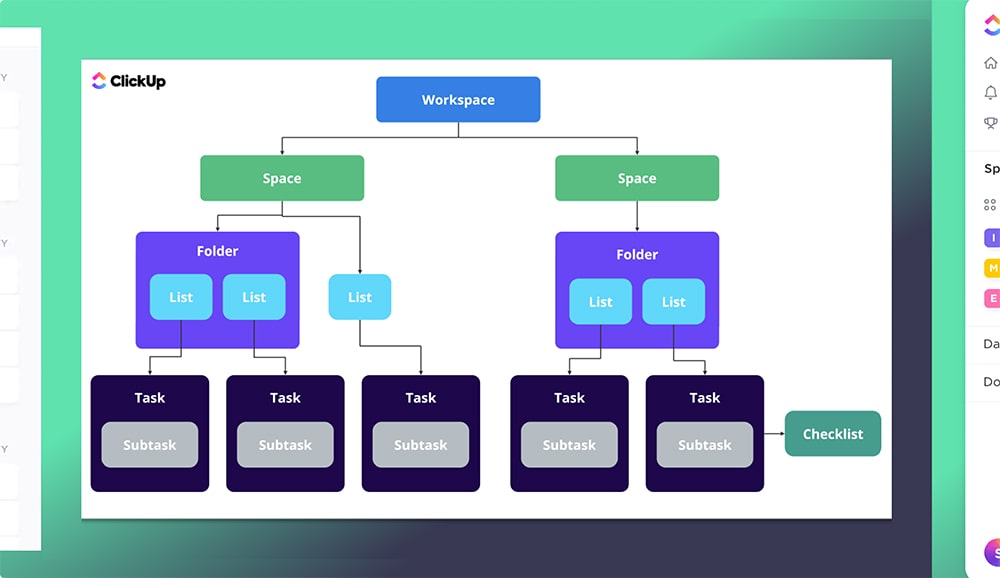
ClickUp’s organizational hierarchy helps structure your IT projects effectively. Here’s how it works:
- Workspace: The highest level where all projects and data are housed.
- Spaces: Subsections within a Workspace, typically representing teams, departments, or major projects (e.g., Development, IT Support).
- Folders: Groupings of related Lists, such as a folder for “Bug Tracking” within the Development Space.
- Lists: A collection of tasks, each representing specific deliverables or objectives.
- Tasks and Subtasks: Actionable items that can be broken into smaller components for granular tracking.
This structure ensures that IT projects remain organized and easy to navigate.
Step 2: Create a Workspace for Your IT Projects
Your first step is to create a Workspace that encompasses all IT-related projects. Include relevant team members and ensure permissions are properly set. Remember, workspaces are standalone entities—plan the structure carefully, as tasks and data cannot be moved across workspaces.
Step 3: Customize Spaces for Teams or Departments
Within your Workspace, create dedicated Spaces for each team or project type:
- Development: For software and app development projects.
- QA: To track testing and quality assurance processes.
- IT Support: For managing service requests and troubleshooting tasks.
Customize each Space by enabling ClickApps (e.g., Custom Fields, Time Tracking, or Automations) based on the team’s workflow requirements.
Step 4: Organize with Folders and Lists
Folders and Lists provide the next level of organization within Spaces:
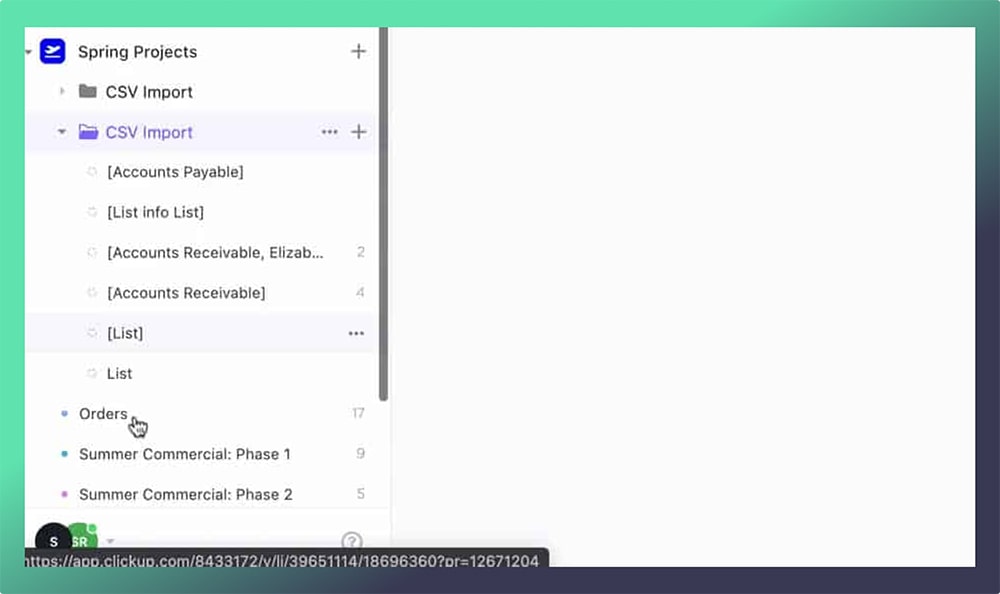
- Folders: Group related tasks, such as “New Features” and “Critical Fixes” under a Development Space.
- Lists: Break projects into specific phases, such as “Planning,” “Implementation,” and “Testing.”
This approach ensures a clear structure and allows team members to focus on their specific responsibilities.
Step 5: Define Workflow Statuses
Tailor task statuses to match your project’s unique workflow. For IT projects, consider statuses like:
- To Do
- In Progress
- Under Review
- Blocked
- Completed
These statuses provide visibility into task progress and help identify bottlenecks early.
Step 6: Leverage ClickApps for Advanced Functionality
ClickApps enhance ClickUp’s flexibility by adding specialized features. Here are some essential ClickApps for IT projects:
- Dependencies: Manage task relationships, ensuring prerequisites are completed before starting subsequent tasks.
- Time Tracking: Monitor time spent on tasks to manage resources effectively.
- Custom Fields: Add fields like “Priority,” “Impact Level,” or “Requester” to capture critical data.
- Automations: Reduce repetitive work by automating task assignments, status updates, and notifications.
Enabling these ClickApps will tailor ClickUp to meet your IT project’s specific needs.
Step 7: Use IT-Specific Templates
ClickUp offers pre-built templates tailored to IT projects. The IT Service Management (ITSM) template, for instance, simplifies ticket management with pre-defined fields, task statuses, and automations. Similarly, software development templates streamline bug tracking and feature prioritization. Use these templates to accelerate your setup process.
Step 8: Assign Tasks and Subtasks
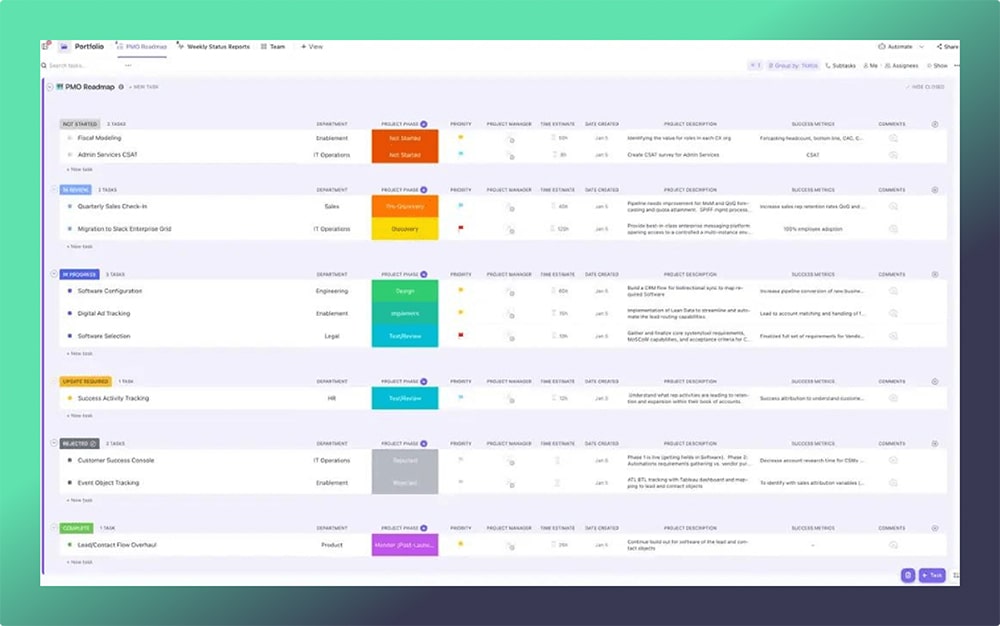
Tasks are the backbone of any ClickUp project. Here’s how to manage them effectively:
- Create Clear Tasks: Ensure each task has a specific objective and clear instructions.
- Use Subtasks: Break complex tasks into smaller components for better tracking.
- Set Assignees and Deadlines: Assign tasks to the right team members and define realistic deadlines.
For recurring IT tasks like system updates or maintenance, set up recurring task schedules.
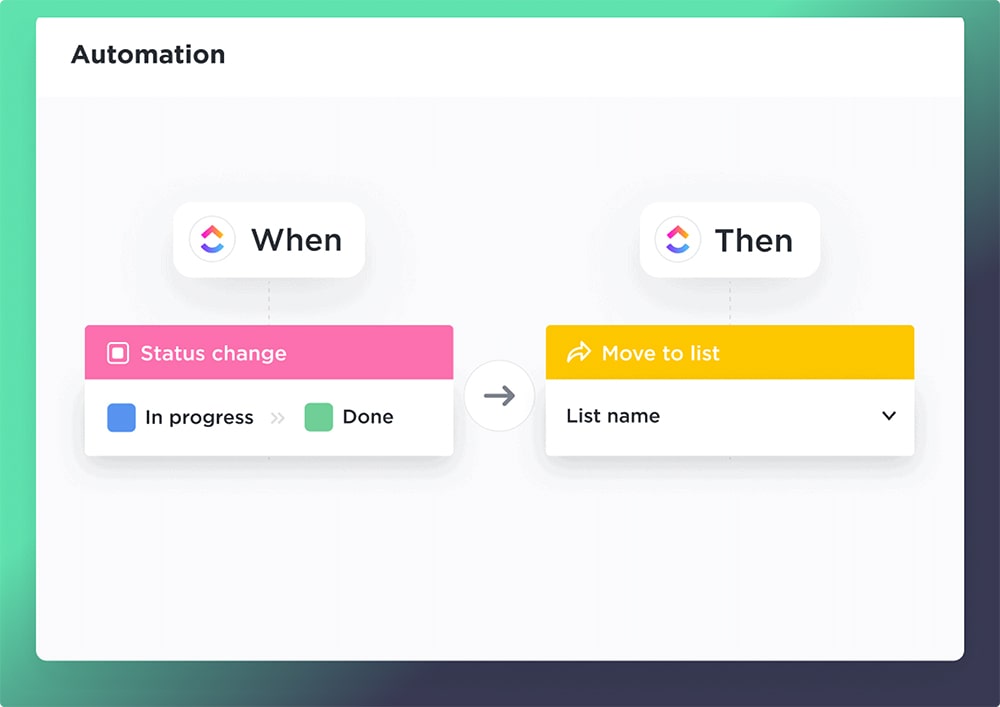
Step 9: Enable Automations to Save Time
Automations reduce manual effort and ensure consistent task handling. Examples include:
- Automatically assigning tasks to team members based on status changes.
- Sending notifications for overdue tasks.
- Updating task priorities when a “High Severity” Custom Field is selected.
ClickUp’s automation library provides pre-built options, or you can create custom automations to suit your workflows.
Step 10: Visualize Work with ClickUp Views
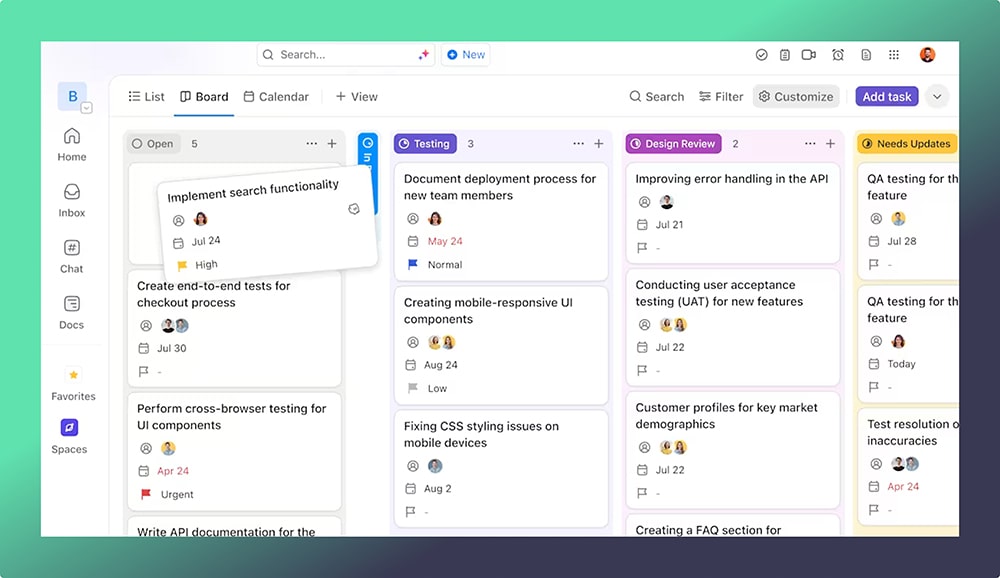
Different views in ClickUp cater to various project needs:
- List View: Ideal for detailed task tracking.
- Board View: Perfect for Agile teams using Kanban workflows.
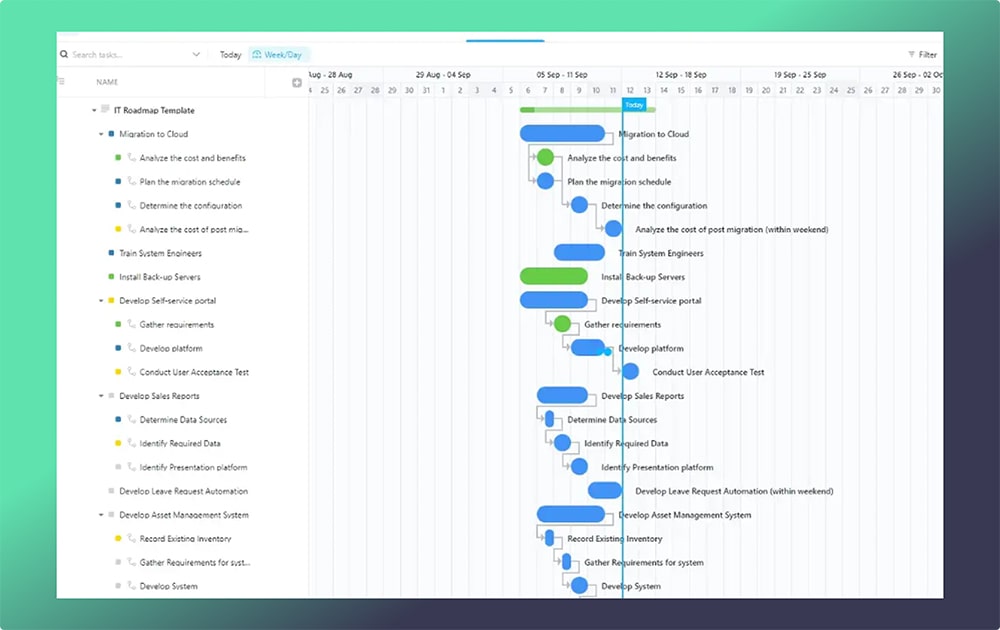
- Gantt View: Visualize timelines and dependencies for project planning.
- Calendar View: Track deadlines and plan team workloads.
Switch between views to get insights from different perspectives.
Step 11: Monitor Progress with Dashboards
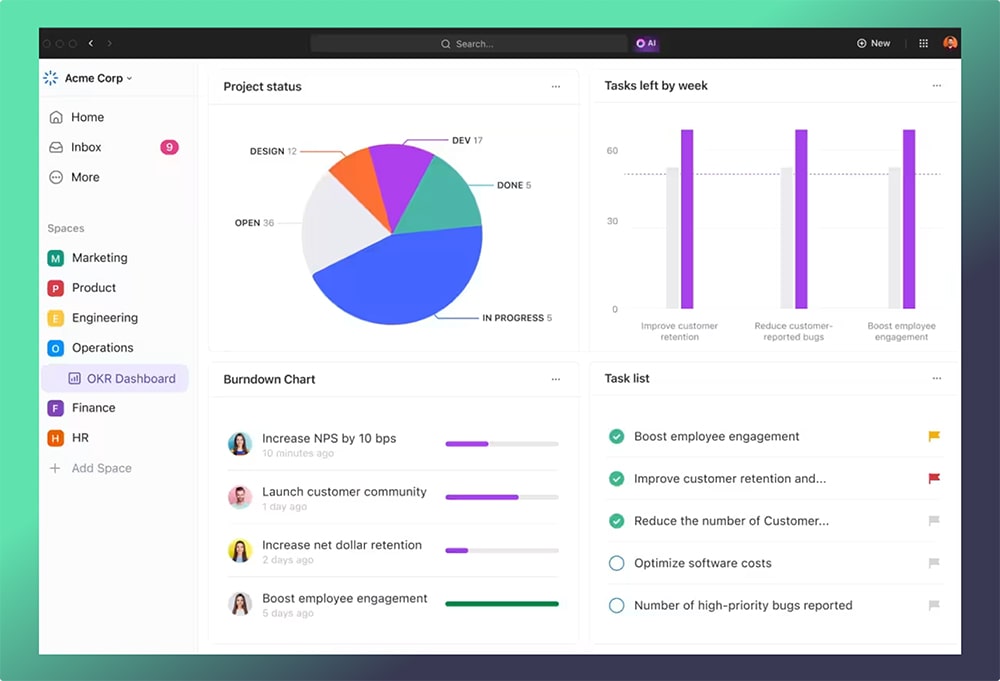
Dashboards provide a centralized view of project performance. Use widgets to track:
- Task completion rates.
- Time tracked per team member.
- Project milestones.
For IT projects, you can create dashboards focused on SLA compliance, ticket resolution rates, or sprint progress.
Step 12: Collaborate Effectively
ClickUp fosters collaboration with its communication features:
- Comments and Mentions: Keep task discussions in one place.
- File Attachments: Share relevant documents directly within tasks.
- Team Chat: Use built-in chat for quick discussions.
These tools ensure seamless communication and easy access to project-related information.

Step 13: Track and Report Project Performance
ClickUp’s reporting features let you analyze key metrics. For IT projects, focus on:
- Task completion trends.
- Resource utilization.
- SLA adherence rates.
These insights help refine processes and ensure project goals are met.
Step 14: Train Your Team and Continuously Improve
A successful ClickUp implementation depends on your team’s proficiency with the platform. Provide training sessions to familiarize them with ClickUp’s features and encourage feedback to refine workflows. Regularly review your ClickUp setup to align with evolving project requirements.
Advanced Features for IT Professionals
Gantt Charts for IT Project Management
ClickUp’s Gantt charts provide a visual representation of your project timeline. Use them to:
- Plan tasks and milestones.
- Track dependencies and adjust schedules.
- Identify bottlenecks before they impact deadlines.
Multiple Lists for Greater Visibility
Tasks that span multiple projects or teams can appear in multiple lists. This ensures no task is overlooked and everyone has visibility into their responsibilities.
Clips for Seamless Communication
Capture and share screen recordings directly within ClickUp. Clips reduce the need for lengthy emails or meetings and improve clarity in task instructions.
Use Cases for IT Task Management
1. Agile Software Development
- Sprint Planning: Assign tasks and track progress during sprint cycles.
- Backlog Prioritization: Organize user stories, bugs, and features by priority.
- Burndown Charts: Visualize remaining work against time.
- Daily Stand-ups: Align team members on progress and blockers.
2. IT Infrastructure Management
- Incident and Change Management: Track incidents and ensure timely resolution.
- Asset Tracking: Manage hardware, software, and licenses.
- Patch Management: Plan and track system updates.
- Service Requests: Handle user requests for new hardware, software, or permissions.
3. IT Security and Compliance
- Incident Response: Create tasks for responding to security breaches.
- Compliance Audits: Manage tasks for audit preparation and execution.
- Vulnerability Management: Track and remediate system vulnerabilities.
- Security Awareness Training: Assign and track training sessions for employees.
4. IT Project Management
- Resource Allocation: Assign tasks based on team capacity and skills.
- Milestone Tracking: Set and monitor key project deliverables.
- Budget Management: Assign tasks for cost tracking and approvals.
- Risk Management: Create tasks to assess and mitigate potential risks.
Challenges ClickUp Solves for IT Professionals
- Prioritization: Helps organize tasks based on deadlines and dependencies.
- Progress Tracking: Offers real-time updates on task completion and milestones.
- Resource Management: Provides clarity on team capacity and resource allocation.
- Documentation: Centralizes files, wikis, and updates for easy access.
- Tool Integration: Connects with IT tools like issue trackers and version control systems.
- Security and Compliance: Ensures data integrity with advanced security features.
Conclusion
Setting up ClickUp for IT projects is a game-changer for IT teams looking to improve efficiency and collaboration. By following this guide, you can create a robust project management system tailored to your needs. From organizing tasks to automating workflows, ClickUp ensures every aspect of your IT project is handled efficiently.
Ready to optimize your IT projects? As the only verified ClickUp reseller in Saudi Arabia, Dtech Systems can help you get started with expert support and customized setups. Contact us today to transform your project management experience!


